If you are someone who has never owned a turntable, buying a vintage turntable can be quite overwhelming. While new turntable offers plug and play and a peace of mind, a vintage turntable can be a great value for the buck. There are, however, are a few basic checks that you can perform to be a bit more sure that you are buying a turntable that is more likely to work.
“Its not an exhaustive list or a sure check that the turntable is going to work. It is a basic check that increases your chance of having a decent working turntable on a budget.”
The following are the few checks you can perform:
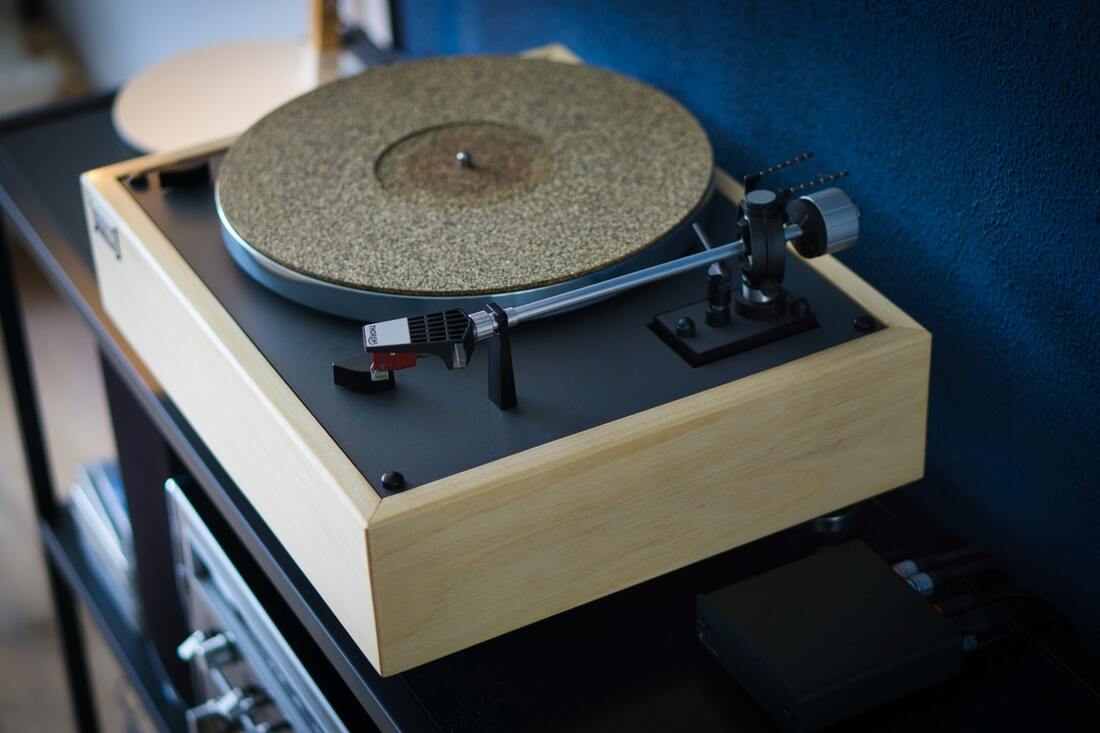
- Gently spin the turntable platter with your hand (while it is powered off). It should spin freely for a minute or so. If it does, its a good sign. If the movement is slow or sluggish, it could be just because of the dry bearing which can be cleaned and oiled easily. Also visually check if the platter is wobbly and there is any grinding noise. If it does then the table is either touching something or has a problematic bearing- dont buy it. If not, move to the next step.
- Download an app called RPM- Turntable. It is an excellent tool to check the speed of the turntable. To check speed, power the turntable on, Put the speed selector on 33 rpm and place the phone with the app running. See if the table holds speed. Use the pitch control to increase or decrease the speed to isolate the speed to 33.33 RPM. Spend a couple of minutes to see if the speed is consistent (and does not go up and down). Change the speed to 45 and do the same. If the table holds speed, then to move on to the next test. If it doesn’t: don’t buy it.
- Run the turntable for 5 mins or so. Then hold the central spindle tightly to check if you can feel any heat. If the spindle is hot, it’s likely that the motor is running hot. It may be due to dry bearings as well but it’s a danger sign- so do not buy that table. If feel no noticeable heat, move to the next test.
- Please set the anti-stake force dial to zero (its normally a small dial meter next to the base of the tonearm). Take the tonearm out of the resting position. Spin the counterweight inwards or outwards to balance the tonearm (so that it floats). This may be difficult if the headshell is not attached. You may have to remove the counterweight to balance the tonearm. Once balanced, push it inwards gently and see if it’s moving freely. If not, then it indicates that the bearings of the tonearm is compromised. Then don’t buy the turntable. If it has no issues with movements, then set the anti-skate dial to 3. Push the tonearm towards the center of the table and see if the tonearms naturally float outwards. Check if you feel any resistance during the tonearm’s movement inwards and outwards and up and down etc. Check if there are any noise or drag. If yes do not buy the turntable, if not, your table is likely turn in correct speed and has a tonearm that works.
- It would also be nice to plug it to an amp and listen to it. It allows you to check if there any hum (annoying loud noise ) and also if both speakers are producing sound. This may not always be possible and its likely that it does not have a working stylus (needle) in the headshell. So skipping this step is ok. Breaks in the tonearm lines are not very common but there is a small risk.
- Check all the buttons are usable, and there are no visible marks, dings and dangs. Dirt can be cleaned but a battered turntable would not look nice (looks do matter). Almost all vintage turntables have either scratched or clouded acrylic cover. It is a compromise as replacements are hard to find and are generally expensive. As long as there is no crack and the hinges are in place – it’s fine.
- Now there could still be a number of problems with the table and it may not function at all, but if you go through these steps, it’s likely that your table will work. Vintage turntables are not necessarily better than the new ones, but they are much cheaper compared to the similar build and quality of a new turntable. ..and they do look gorgeous.
This list works for a direct-drive and manual turntables made between 1970-1979. This strategy should only be used for a decent decks of a budget less than 200 USD. Anything more than that should be brought from someone who can do a full-on demo.
Automatic turntables are generally either more mechanical or electronic, so they have a higher chance of failure. For idler driven turntable (mostly from 60s), check for turntable platter shold also include the stage of the rubber wheel. They do sound great but if you are buying a table for the first time, avoid idler driven turntables. They require some handy skills to keep them running. For belt-driven turntables, you have to check if the bearings are ok, if the motor does spin or not. It is hard to confirm the accuracy of speed without installing a fresh belt. There could also be a serious issue with the size of the pulley in a turntable that comes from other places there they use different mains frequency (50 or 6 Hz)
Its not an exhaustive list or a sure check that the turntable is going to work. It is a basic check that increases your chance of having a decent working turntable on a budget.
Here is a list of some vintage turntable that we like, that can be purchased under 500 USD:
Full Auto/Direct drive: Sony PS X70, Pioneer Pl 530, Sansui SR 838, Technics Sl 1600
Semi-Auto DD: Marantz 6300, Technics Sl 1301/1700, SL D 33, Pioneer Pl-518
Idler drive – full auto: Dual 1219/1229/1019, Elac 50 H/ 770H
Idler drive Manual: Lenco L 75, Garrard Zero 100 (NS)
Manual/DD: Technics 1200 Mk 3 onwards: Sony 2550, Pioneer PL-50
Manual Belt Drive, Thornes TD 160, Pioneer PL 41/ PL 50, Rega RP 3, AR XA